


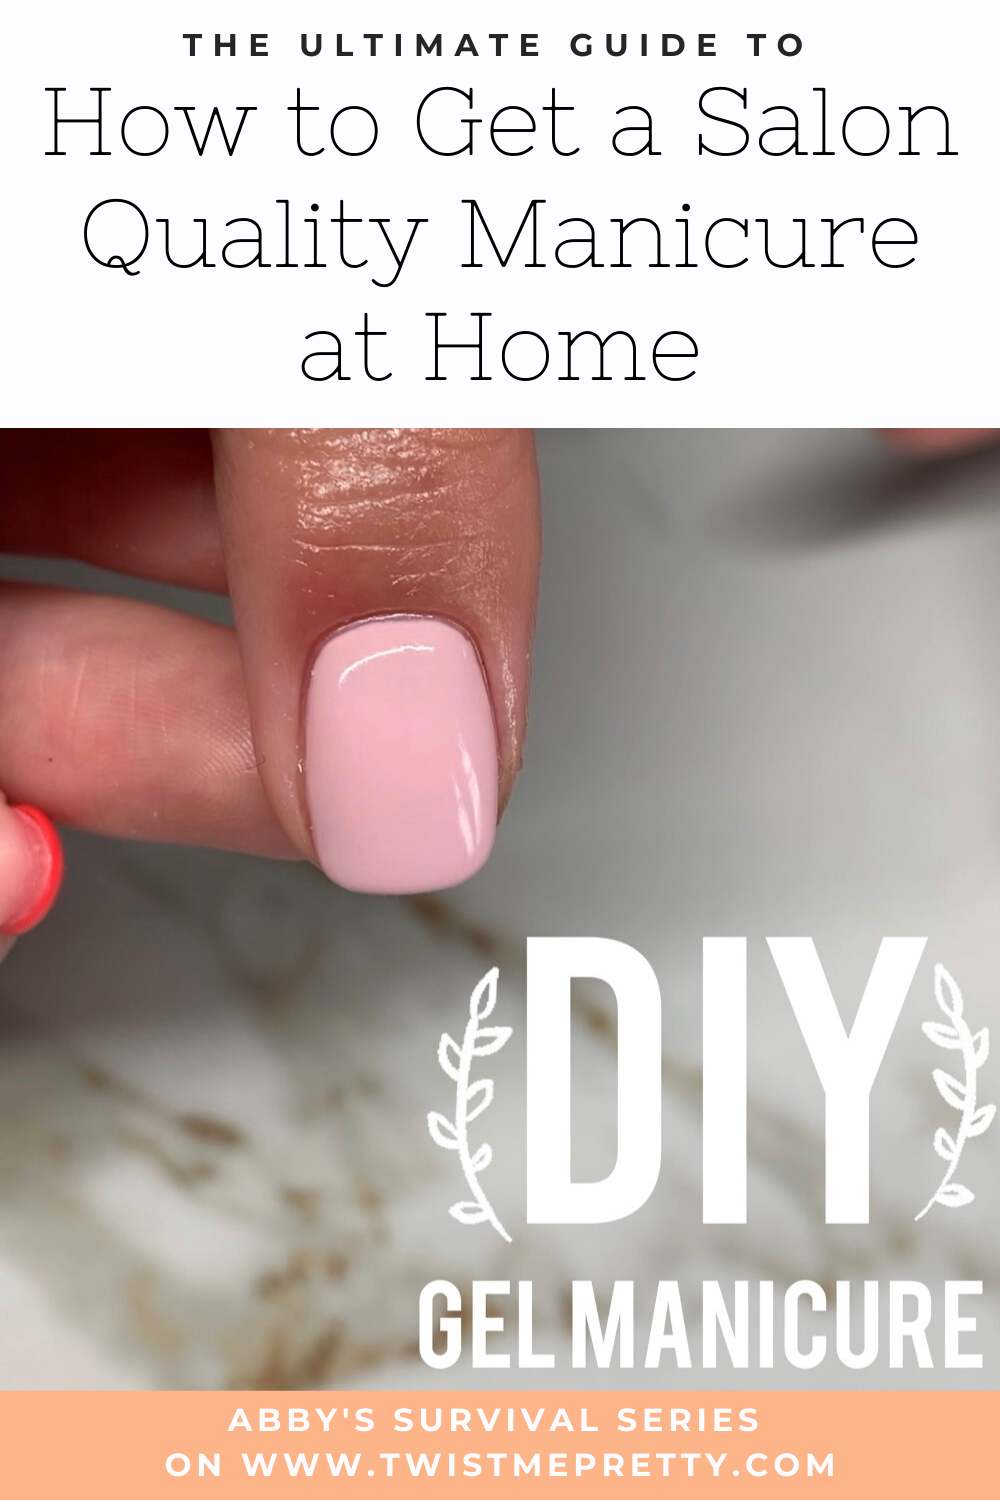
Okay, so I wanted to get into doing my own gel manicures at home. Save some money, you know? Plus, it seemed like a fun little project. First, I went online to see what stuff I needed. Turns out, it’s a bit more than just the colored polish.
Getting the Right Tools
I started by gathering the basics. I grabbed a nail file and a buffing block to shape and smooth my nails. Then, I got a cuticle pusher – gotta keep those cuticles looking neat, right? Also picked up some lint-free wipes, these are super handy for cleaning up.
Prepping the Nails
Next, I learned that prepping is key. I got myself a nail dehydrator and an acid-free nail primer. Apparently, these help the gel stick better and last longer. I also bought some 91% rubbing alcohol for cleaning the nails before starting.
The Gel Stuff
Now for the actual gel part. I made sure to get a good base coat and a no-wipe top coat. And of course, I picked out a few gel polish colors that I liked. I also invested in a UV/LED lamp – this is what cures the gel and makes it hard.
Extra Bits and Bobs
I also got a small cleanup brush for fixing any mistakes, a dampen dish, and an acrylic nail brush, I think I’ll need this for applying the gel, but I’m not a hundred percent sure. Oh, and I didn’t forget the pure acetone – that’s for when I want to take the gel polish off. For an extra touch I added some cuticle oil and a manicure brush to make my nails look perfect, but they are not strictly needed.
Putting It All Together
So, I started by using the cuticle pusher to tidy up my cuticles. Then, I filed and buffed my nails to get them in the right shape. I wiped them down with rubbing alcohol and applied the nail dehydrator and primer.
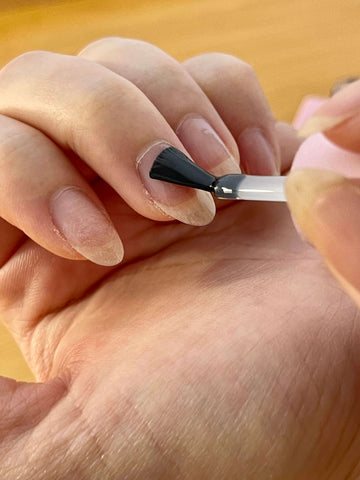
Then, I carefully put on a thin layer of base coat and cured it under the lamp. Next came the fun part – applying the colored gel polish! I did two coats, curing each one under the lamp. Finally, I finished with the top coat, cured it, and boom – shiny, long-lasting gel nails!
Cleaning Up
When it was time to remove the gel polish, I soaked some cotton balls in acetone, placed them on my nails, and wrapped them in foil. After a few minutes, the gel softened, and I could gently scrape it off.
- First try, not too shabby!
- It definitely takes some practice, but it’s pretty satisfying doing it yourself.
- Plus, I can change up the colors whenever I want!
And that’s pretty much my whole gel manicure adventure. It’s a bit of a process, but I’m getting the hang of it. My nails look pretty good if I do say so myself!


