


Okay, so, I’ve been wanting to make one of those 18th-century style corset dresses for a while now. You know, the ones that look super fancy and give you that historical vibe? Yeah, those. I finally decided to take the plunge and document the whole process. Spoiler alert: It was quite the adventure!
First things first, I had to figure out what kind of corset I was even aiming for. Turns out, there’s a difference between a “corset” and “stays.” Stays are more like the 18th-century version, and corsets, well, they came a bit later and have a different shape. I opted for stays because, hello, 18th century is the goal here.
Then came the sizing. I learned that you’re supposed to measure your waist and then subtract a few inches, about 2-6, to get your corset size. This makes sense, as it’s meant to be snug, right? I measured myself, did the math, and ordered some materials online. I found some leather that I could use for making stays, and it’s good for this. It’s important to be comfortable, so I took my time and chose carefully.
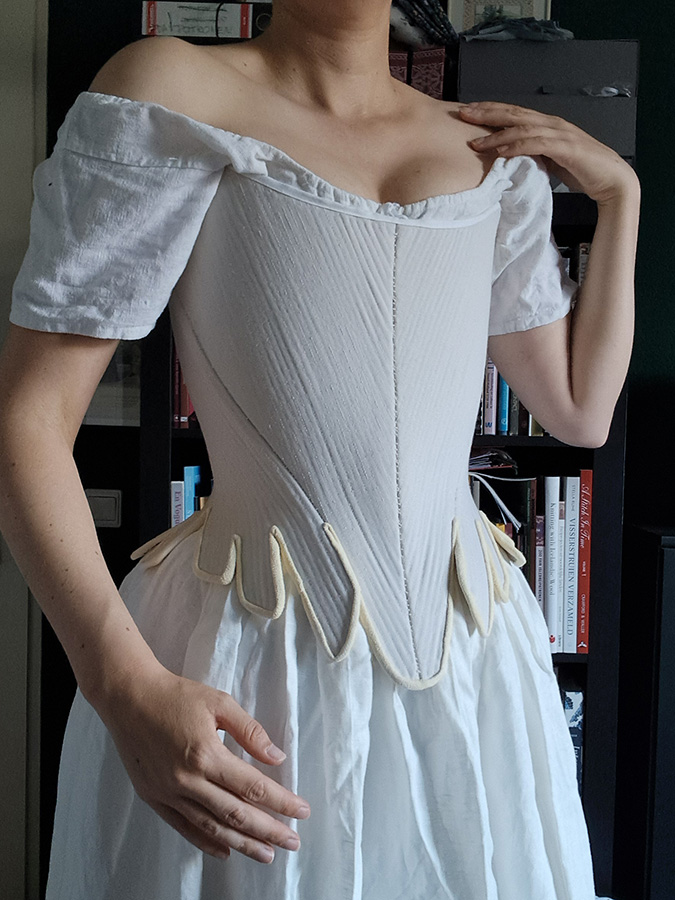
Once the materials arrived, I got to work. Now, I’m not a pro seamstress or anything, so this was a learning curve. I started by cutting the leather into the right shapes. The stays I was making were going to be from a single piece of leather, which is pretty cool because they mold to your body shape over time.
Sewing leather is no joke, let me tell you. My fingers were definitely feeling it after a while! But I kept at it, following some patterns I found online. I needed to push up my bust, you know. This is what women in the 18th Century did. They wore a shift, pockets, stays, petticoats, a gown, and so on. I just focused on the stays.
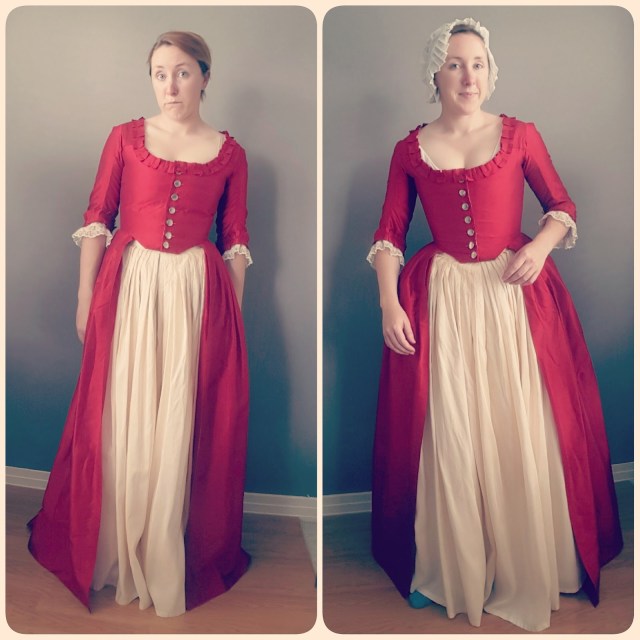
After many hours and a few mishaps, I finally had a wearable pair of stays. I tried them on, and wow, the transformation! I instantly felt like I was transported back in time. The stays were snug but not uncomfortable, and they definitely gave me that 18th-century silhouette.
Next up, the dress part. I wanted something that would complement the stays, so I went with a simple, flowy design. I picked out some fabric that I thought looked pretty and historical, and started sewing again. I might change it in the future because I found some unique custom. I think it’s better.
The whole process took a lot longer than I expected, but it was so worth it. Putting on the finished dress with the stays underneath was an amazing feeling. I truly felt like I had created something special and unique. I might even wear it to a historical event someday!
So, yeah, that’s my 18th-century corset dress journey. It was a lot of work, but I learned so much, and I’m really proud of the result. If you’re thinking about making one yourself, I say go for it! Just be prepared to put in some time and effort. And maybe invest in some good thimbles, because your fingers will thank you!


